Earlier this year I came across some threads about building some DIY monitor mounts, and found something I really liked. seven9st surfer's first monitor stand stuck out to me, but there were a few things I did not like about it. I wanted to have a shallower angle than 45 degrees, and I wanted something that I did not have to bolt to a desk(since I am in a college dorm).
The first step for me was to make my VESA blocks. I cut 6 5" x 5" pieces of 3/8" plywood(which is all I had, so I glued them together to make 3/4").
![IMG_4033.jpg IMG_4033.jpg]()
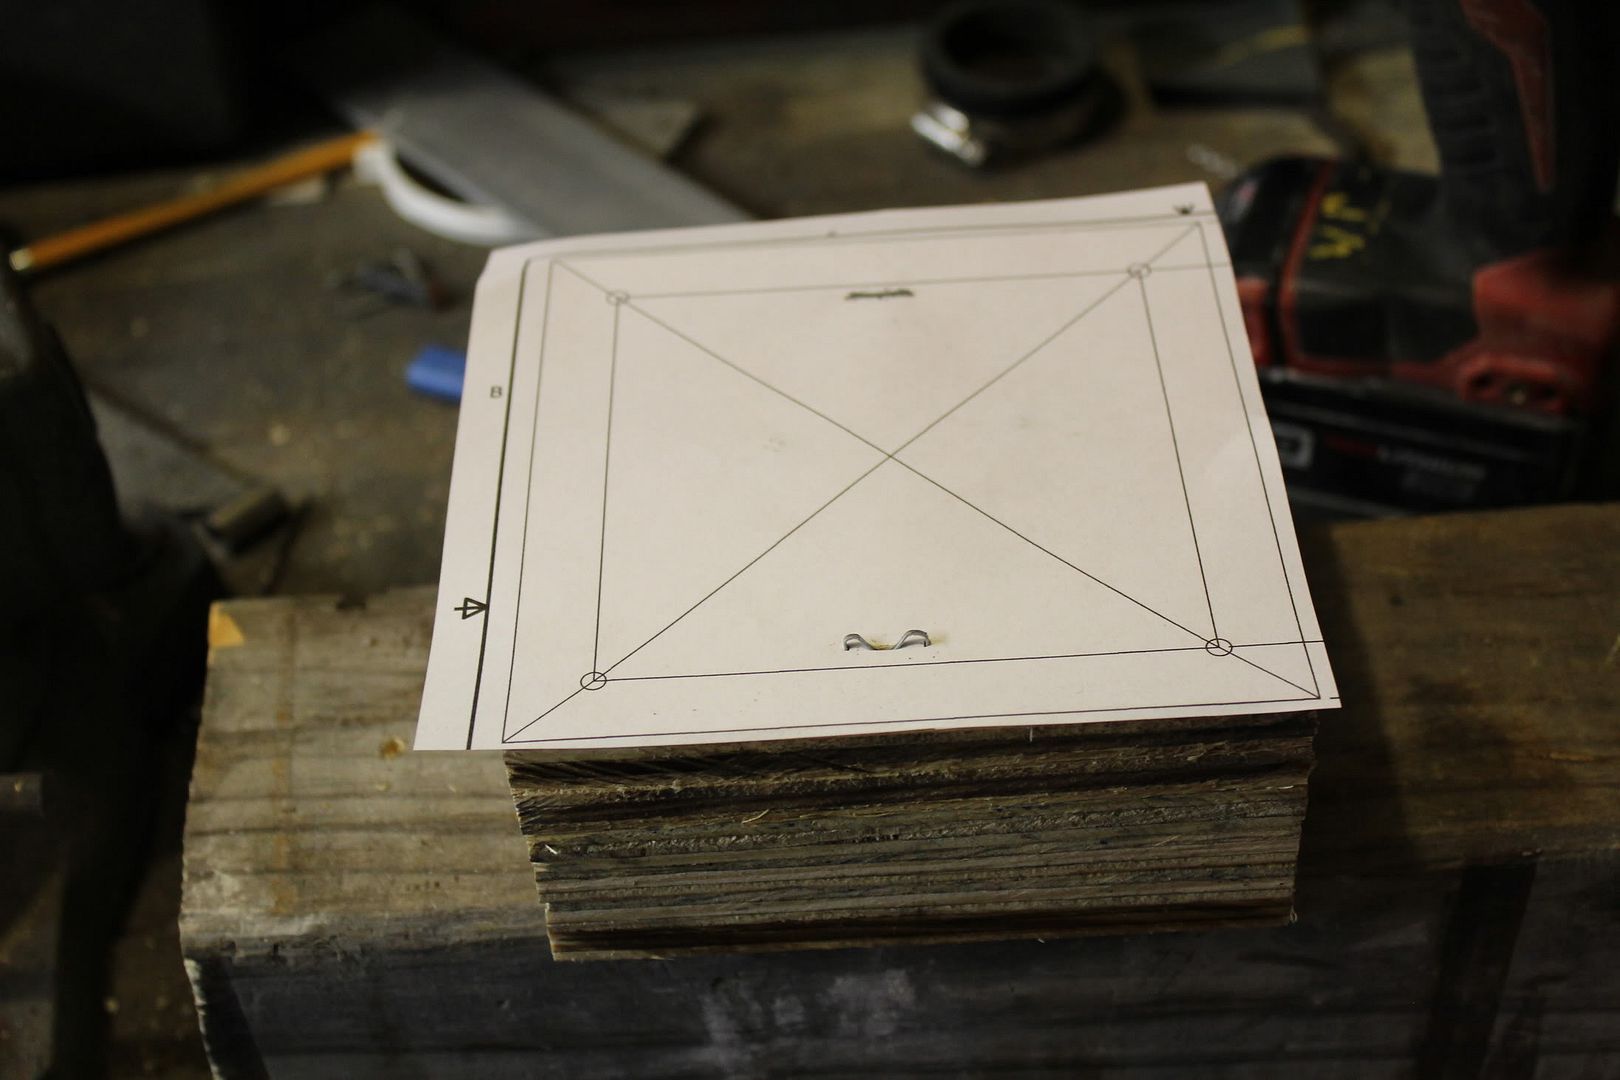
I then made a template in AutoCAD and printed it 1:1. I tacked it to the one piece, stacked them, and drilled holes large enough for the m4 screws.
(by the way if anybody wants the template as a printable PDF, let me know!)
![IMG_4032.jpg IMG_4032.jpg]()
EDIT: I've been asked for the file, but I couldn't find one, so I made a new one just for you guys at OC.net!
(Don't use this picture, the PDF and Autodesk IDW file are attached, and will print to 1:1 scale)
![VESA-1.jpg VESA-1.jpg]()
VESA.pdf 211k .pdf file
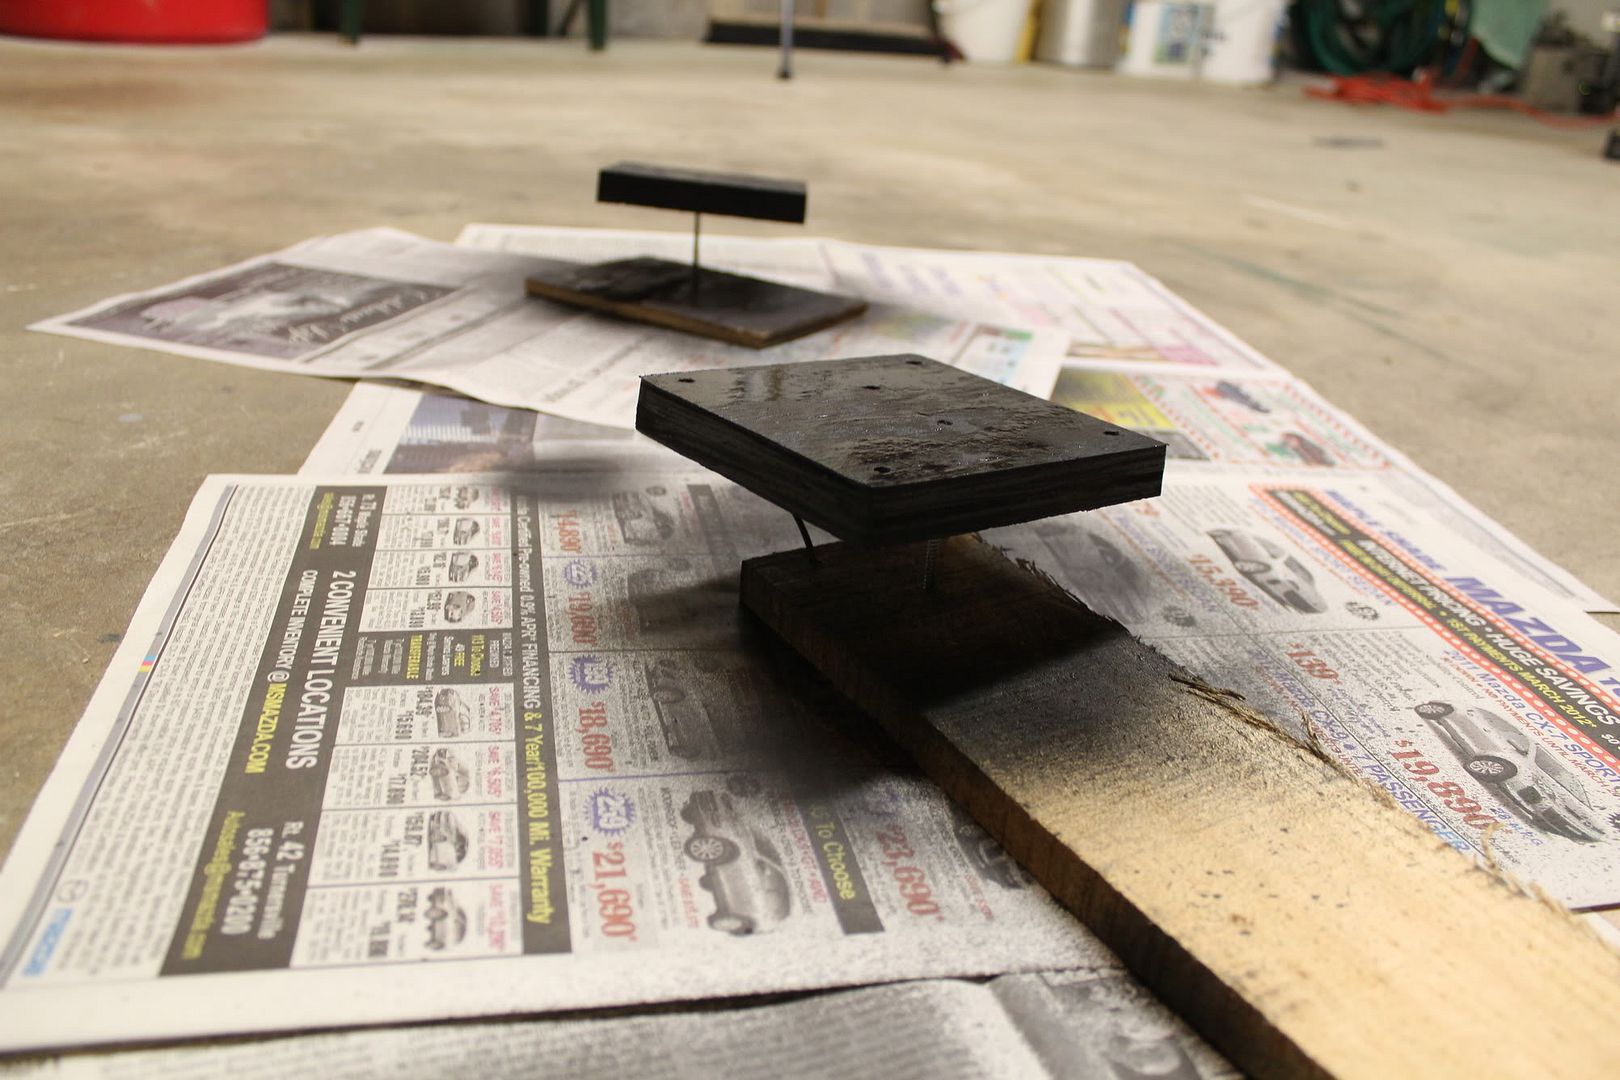
After drilling them, I sanded down the edges and painted them so they wouldn't look so tacky when done.
![IMG_4052.jpg IMG_4052.jpg]()
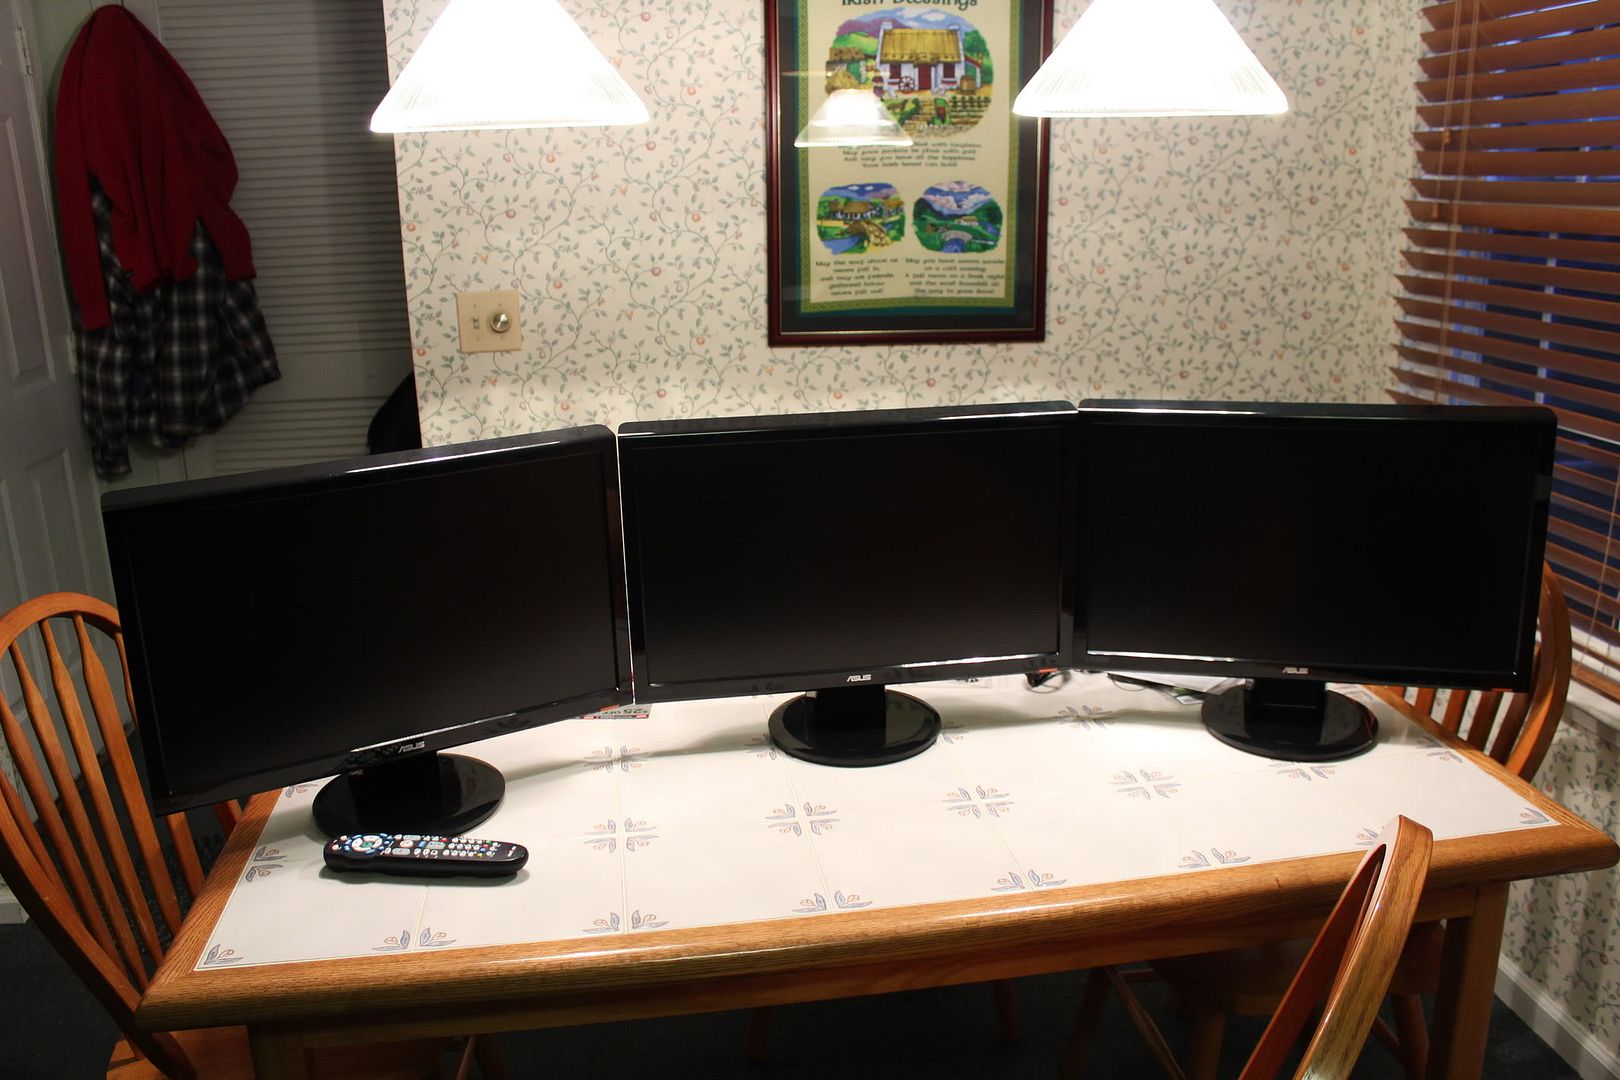
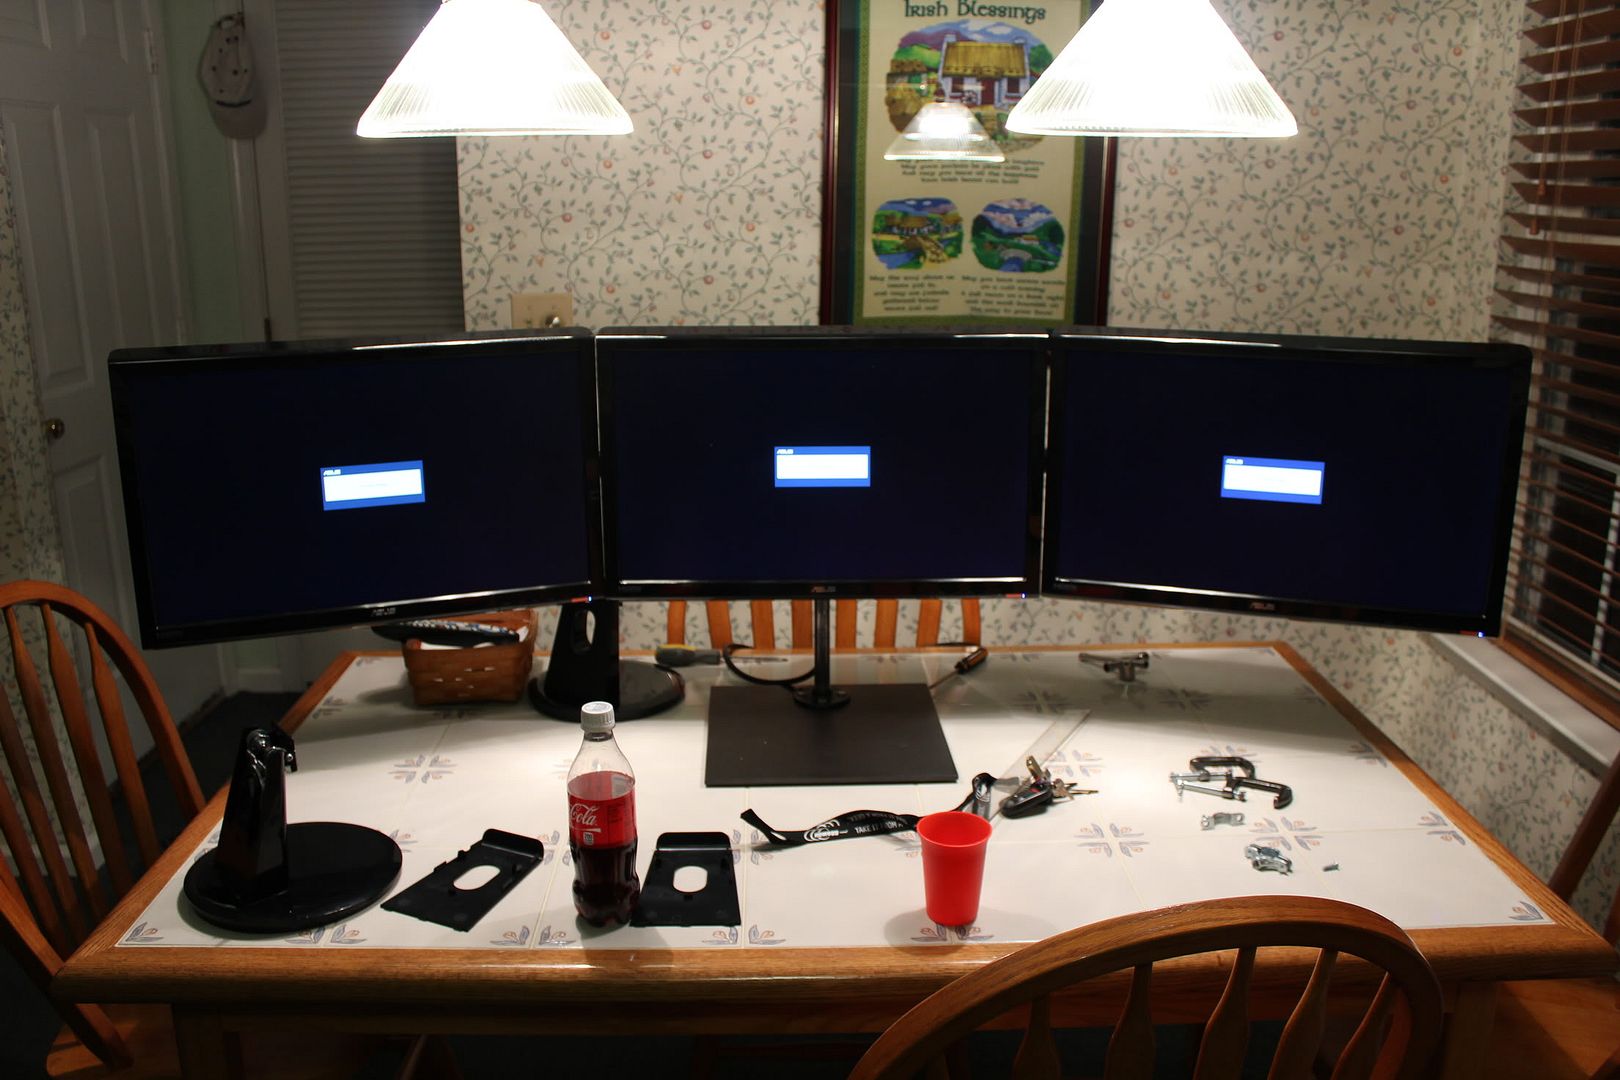
My monitors came in, so I placed them on the kitchen table with their stands on so I could get a feel for what type of angle I wanted.
![IMG_4056.jpg IMG_4056.jpg]()
I then bolted the VESA blocks onto the monitors to help me work with my angles.
![IMG_4057.jpg IMG_4057.jpg]()
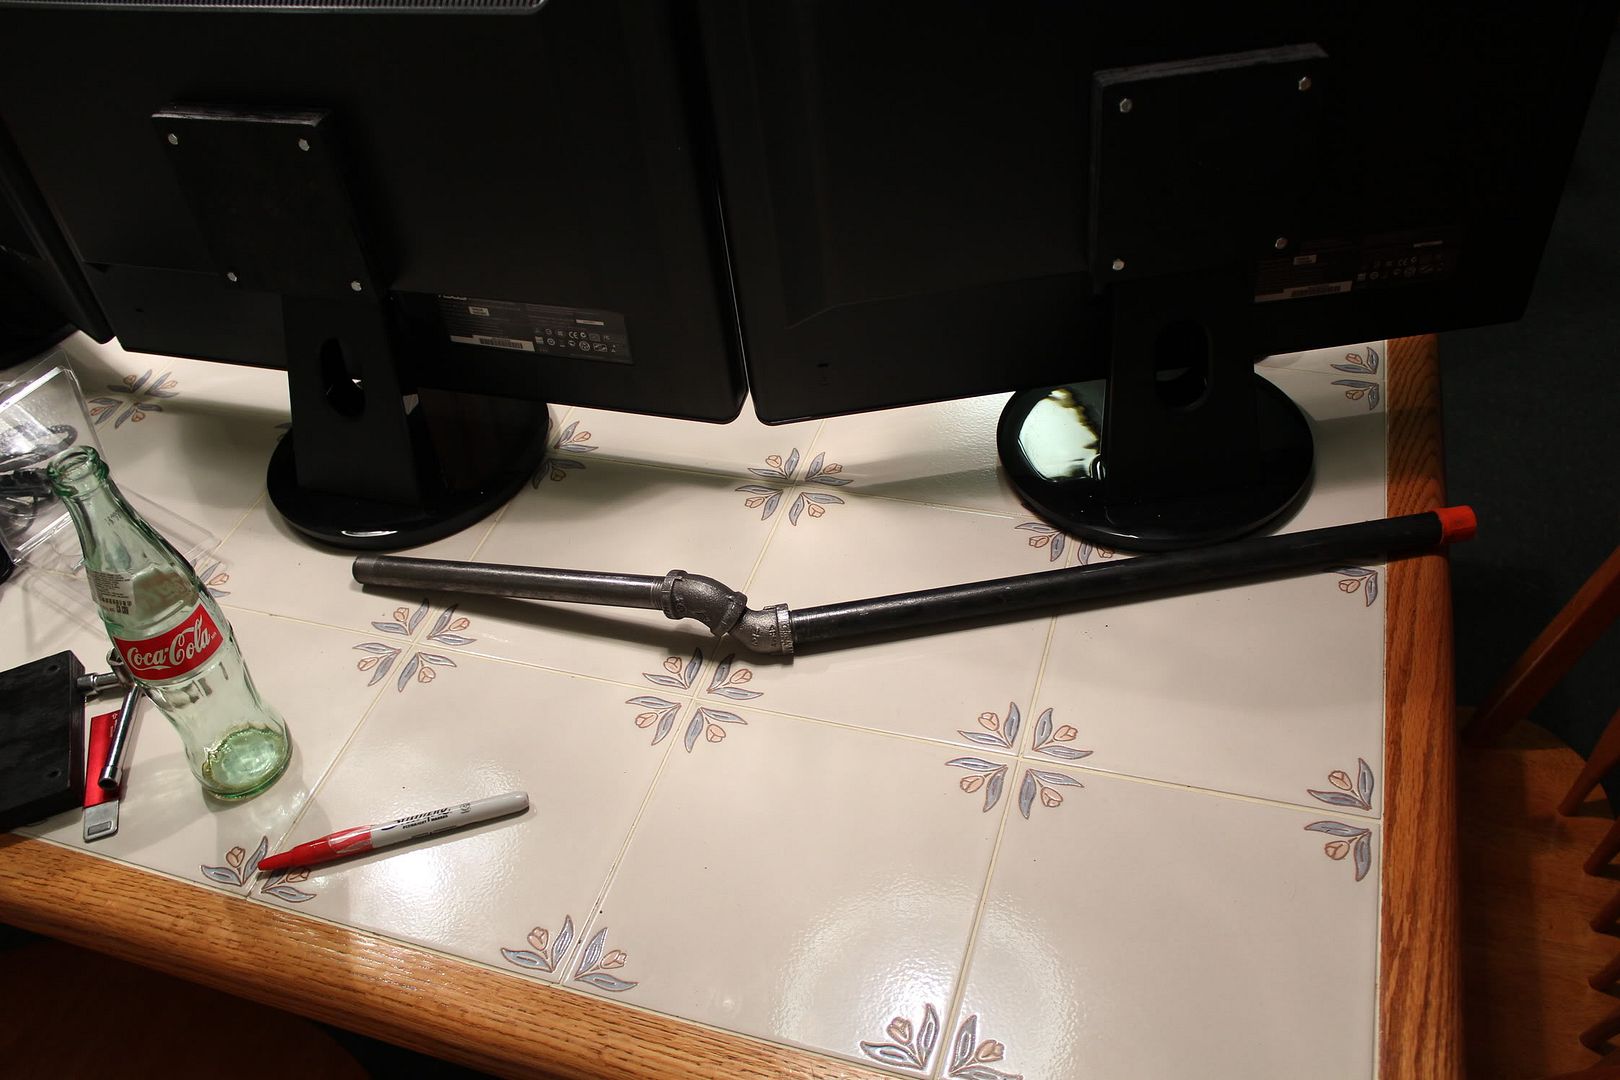
Here is a great little fact you may not know. If you put together a standard 45 and a street 45(which is a 45 with one side male threads, one side female), you can rotate them to create any angle you want! The only drawback is that your angled pipe will be slightly higher(although still parallel) than the original pipe.
![IMG_4072.jpg IMG_4072.jpg]()
I did this to make up my angle from the center screen to the one on the right. I then made the mirror by putting the center piece on the right monitor and the angle on the center one. this made sure I had a perfectly symmetrical angle for both sides.
![IMG_4058.jpg IMG_4058.jpg]()
I tightened them up after marking where they have to be for the angles with a pipe wrench and made sure they won't sag with the weight of the monitor. I then started attaching them to the upright and T fitting, making sure everything was level
![IMG_4060.jpg IMG_4060.jpg]()
![IMG_4061.jpg IMG_4061.jpg]()
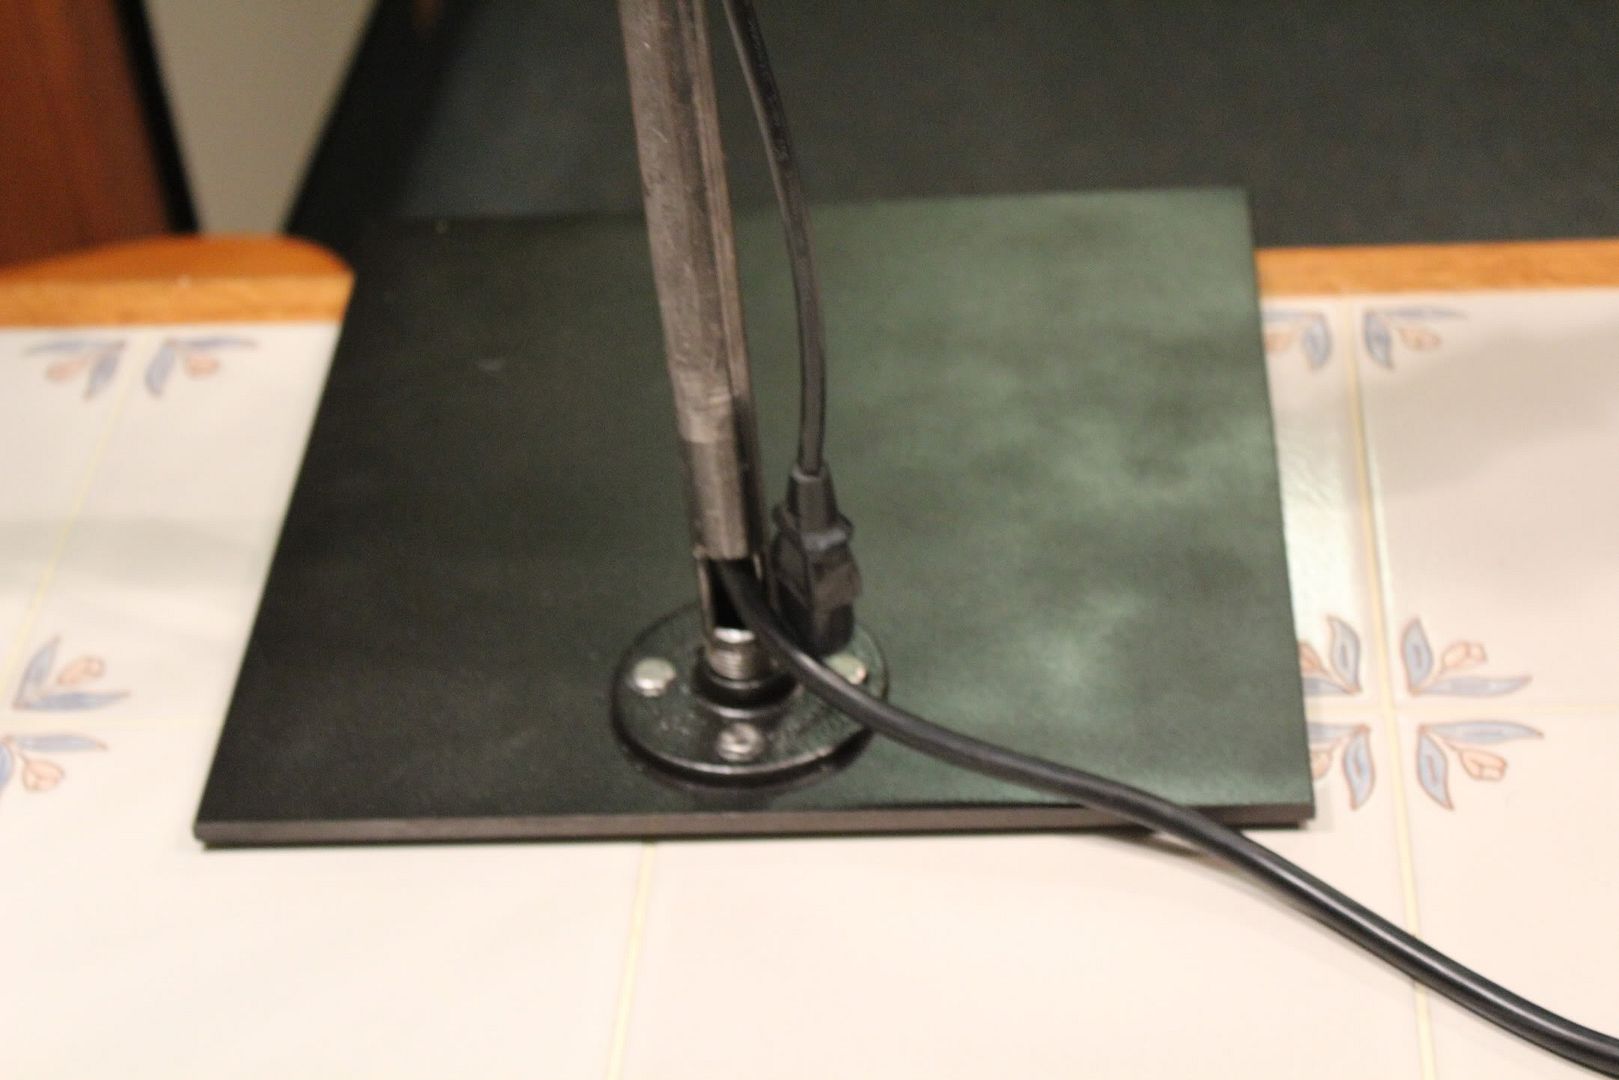
Then, to make sure my stand can, you know... stand, I bolted the flange to a 12" x 12" x 1/4" steel plate, which I then put rubber feet on the bottom. This plate is quite heavy which is very good for what I need it for.
![IMG_4066.jpg IMG_4066.jpg]()
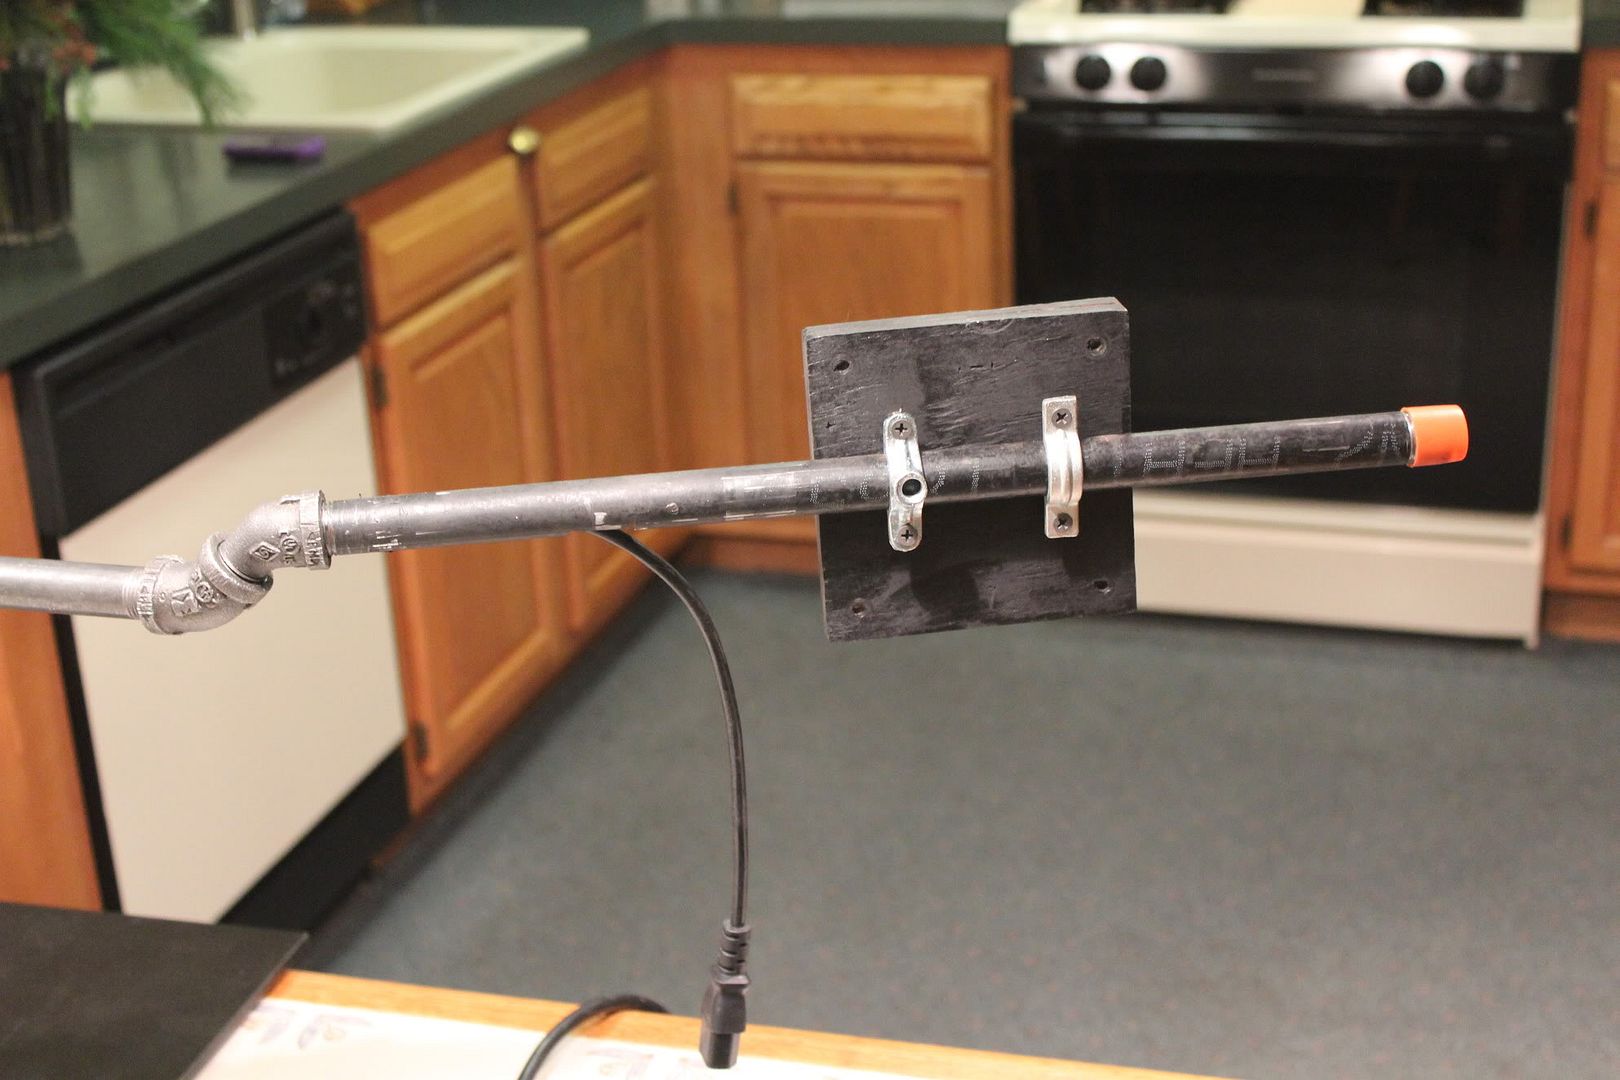
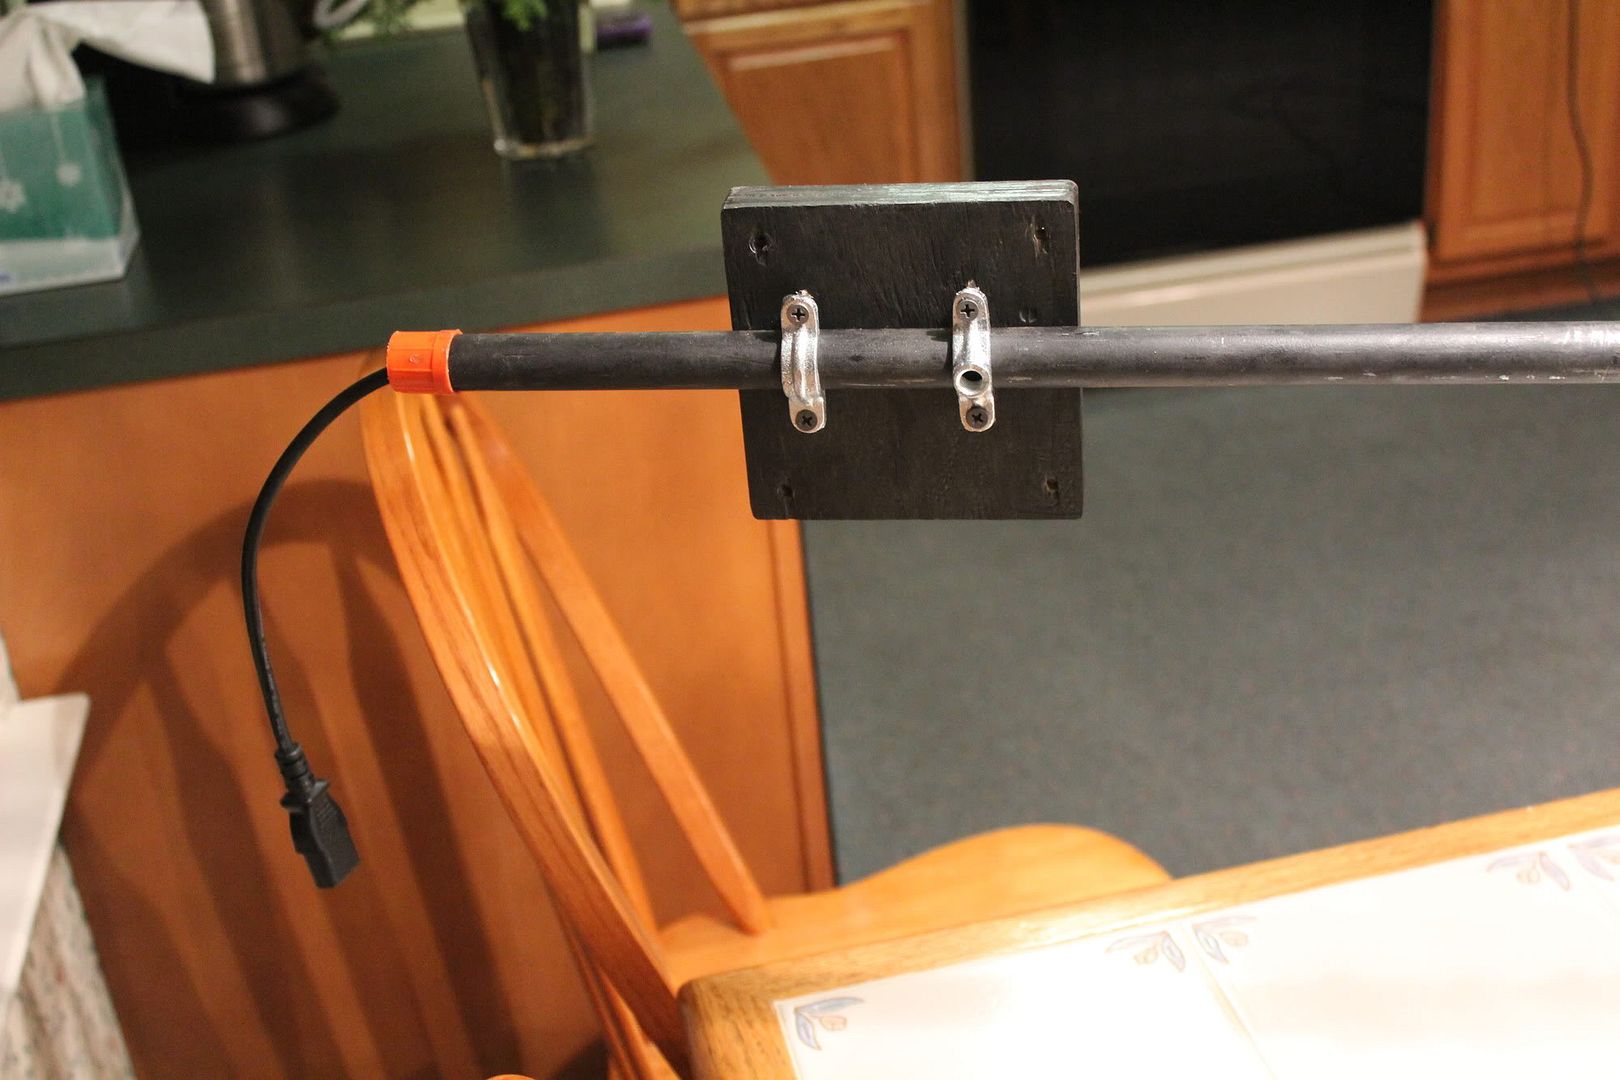
Not to finish there, I decided to do some custom wiring. I hated how this would suck up 3 outlets on my power strip, so I took a large server power cord, cut the end off of it, and mated it with 3 ends for each monitor. One plug powers all 3! To make this even better, I used a die grinder and cut holes in the pipe to hide the cables completely. You see some ugly colorful stuff in the middle of the one picture because I did the soldering outside the tubing and did not pull it all the way inside yet.
![IMG_4070.jpg IMG_4070.jpg]()
![IMG_4068.jpg IMG_4068.jpg]()
![IMG_4071.jpg IMG_4071.jpg]()
![IMG_4062.jpg IMG_4062.jpg]()
With the VESA plates attached, it was time to attach the monitors. It was as easy as:
1:
![IMG_4073.jpg IMG_4073.jpg]()
2:
![IMG_4074.jpg IMG_4074.jpg]()
3!
![IMG_4075.jpg IMG_4075.jpg]()
Minor adjustments still have to be made by loosening the pipe hangers and rotating/sliding the monitors. but you can certainly see the full picture!
![IMG_4076.jpg IMG_4076.jpg]()
![IMG_4077.jpg IMG_4077.jpg]()
I certainly liked being able to have the exact angles I want on this project, and I also like that since the VESA plates can slide, I can easily bolt the 3 monitors in portrait if I ever feel like changing, and all I would have to do is slide them in!
And last but not least, a test run playing Dirt 3! (Note, I have not actually played Dirt 3 in quite a long time, and I am sitting far too close to the monitors to really see properly, so the actual skill shown sucks.) But the monitors are still cool!
Enjoy! And I hope that my thread as well as seven9st surfer's will help many more people!
VESA.pdf 211k .pdf file
The first step for me was to make my VESA blocks. I cut 6 5" x 5" pieces of 3/8" plywood(which is all I had, so I glued them together to make 3/4").

I then made a template in AutoCAD and printed it 1:1. I tacked it to the one piece, stacked them, and drilled holes large enough for the m4 screws.
(by the way if anybody wants the template as a printable PDF, let me know!)
EDIT: I've been asked for the file, but I couldn't find one, so I made a new one just for you guys at OC.net!
(Don't use this picture, the PDF and Autodesk IDW file are attached, and will print to 1:1 scale)

VESA.pdf 211k .pdf file
After drilling them, I sanded down the edges and painted them so they wouldn't look so tacky when done.
My monitors came in, so I placed them on the kitchen table with their stands on so I could get a feel for what type of angle I wanted.
I then bolted the VESA blocks onto the monitors to help me work with my angles.

Here is a great little fact you may not know. If you put together a standard 45 and a street 45(which is a 45 with one side male threads, one side female), you can rotate them to create any angle you want! The only drawback is that your angled pipe will be slightly higher(although still parallel) than the original pipe.
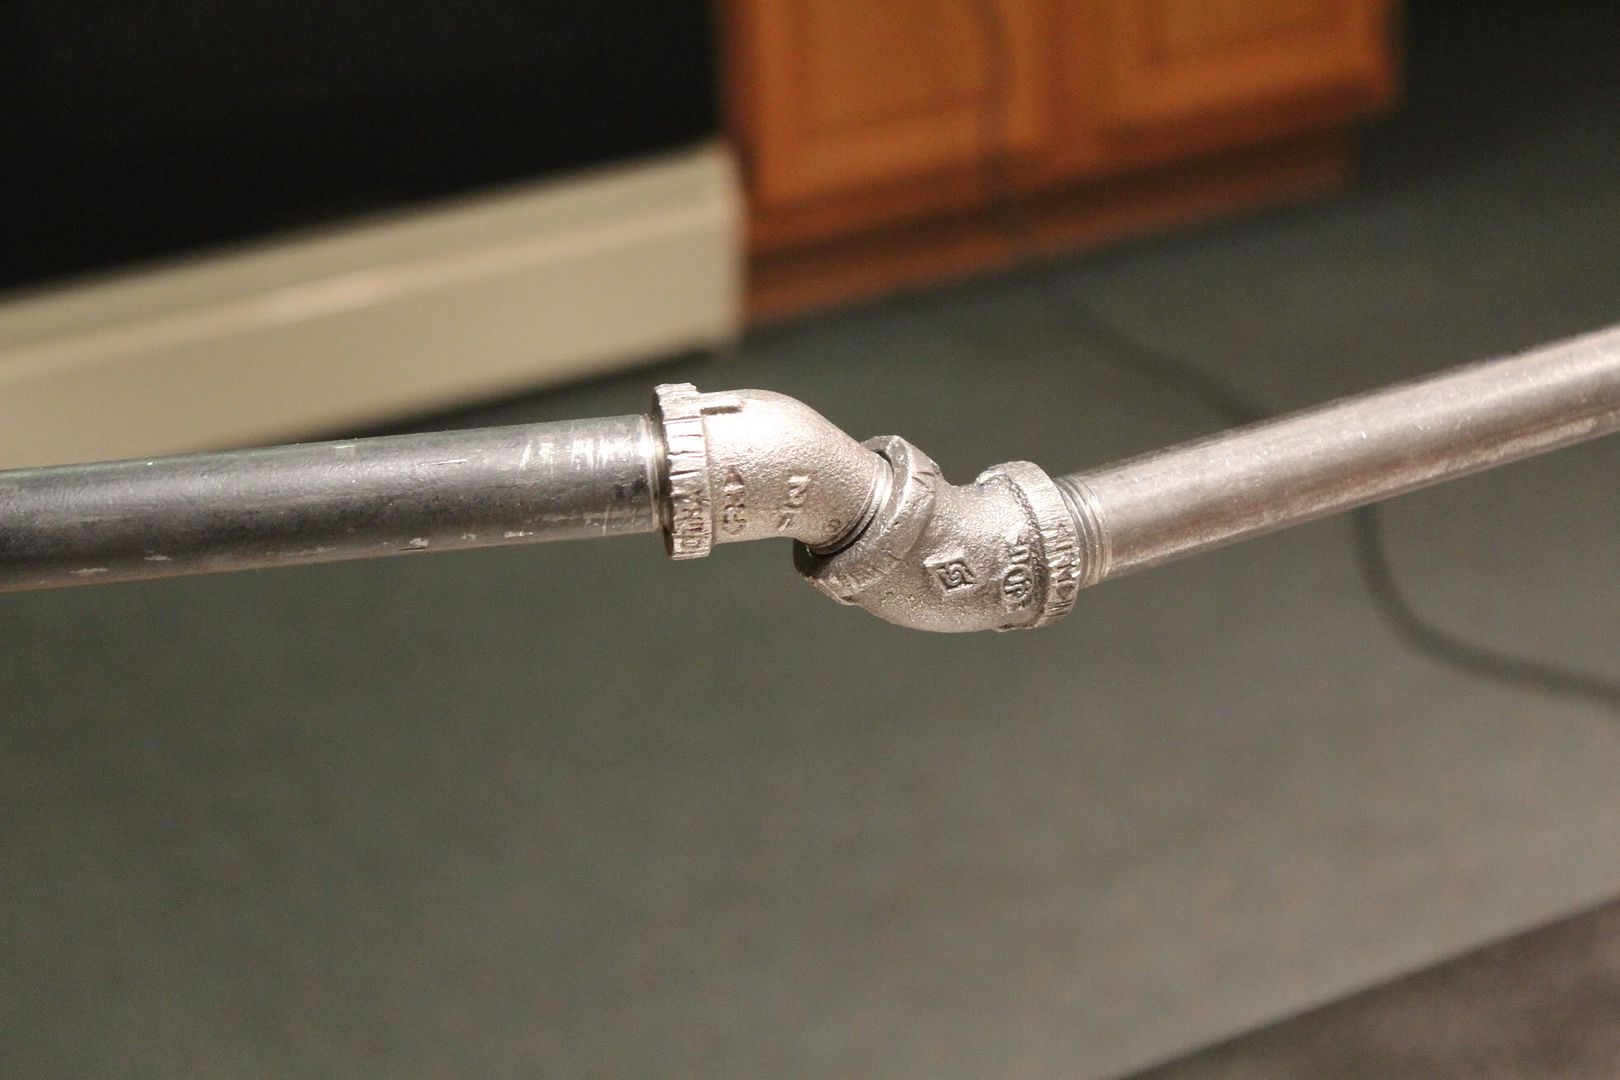
I did this to make up my angle from the center screen to the one on the right. I then made the mirror by putting the center piece on the right monitor and the angle on the center one. this made sure I had a perfectly symmetrical angle for both sides.
I tightened them up after marking where they have to be for the angles with a pipe wrench and made sure they won't sag with the weight of the monitor. I then started attaching them to the upright and T fitting, making sure everything was level


Then, to make sure my stand can, you know... stand, I bolted the flange to a 12" x 12" x 1/4" steel plate, which I then put rubber feet on the bottom. This plate is quite heavy which is very good for what I need it for.

Not to finish there, I decided to do some custom wiring. I hated how this would suck up 3 outlets on my power strip, so I took a large server power cord, cut the end off of it, and mated it with 3 ends for each monitor. One plug powers all 3! To make this even better, I used a die grinder and cut holes in the pipe to hide the cables completely. You see some ugly colorful stuff in the middle of the one picture because I did the soldering outside the tubing and did not pull it all the way inside yet.
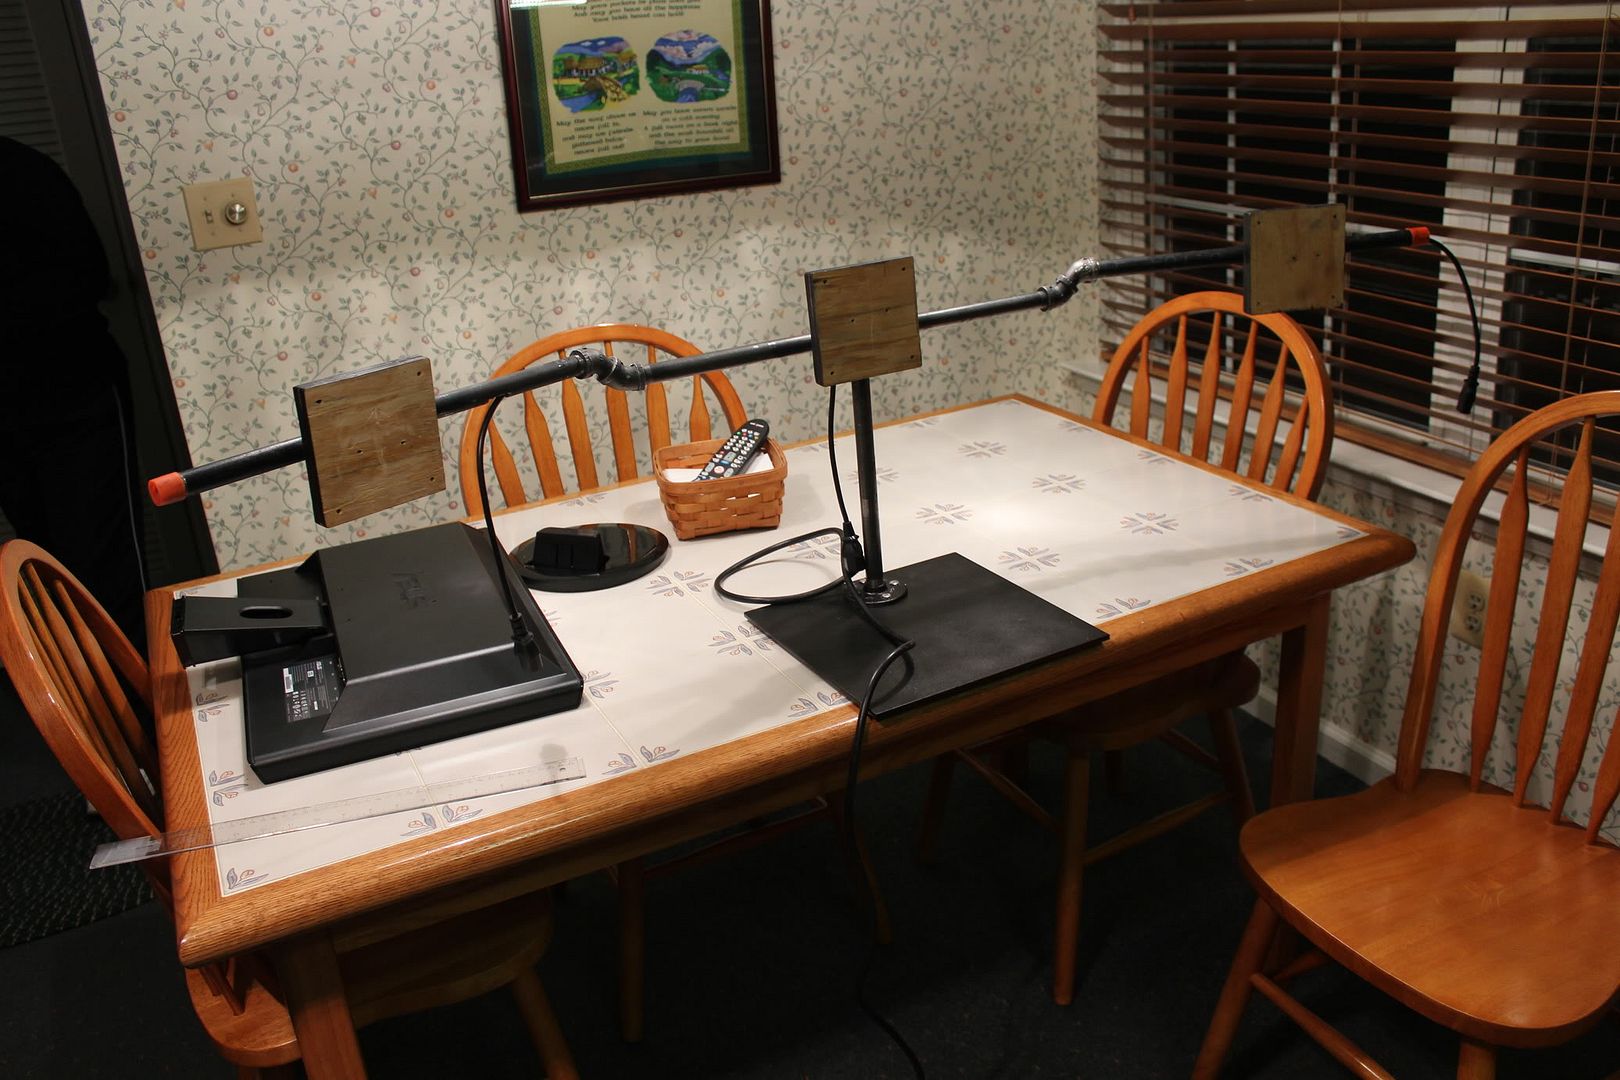
With the VESA plates attached, it was time to attach the monitors. It was as easy as:
1:
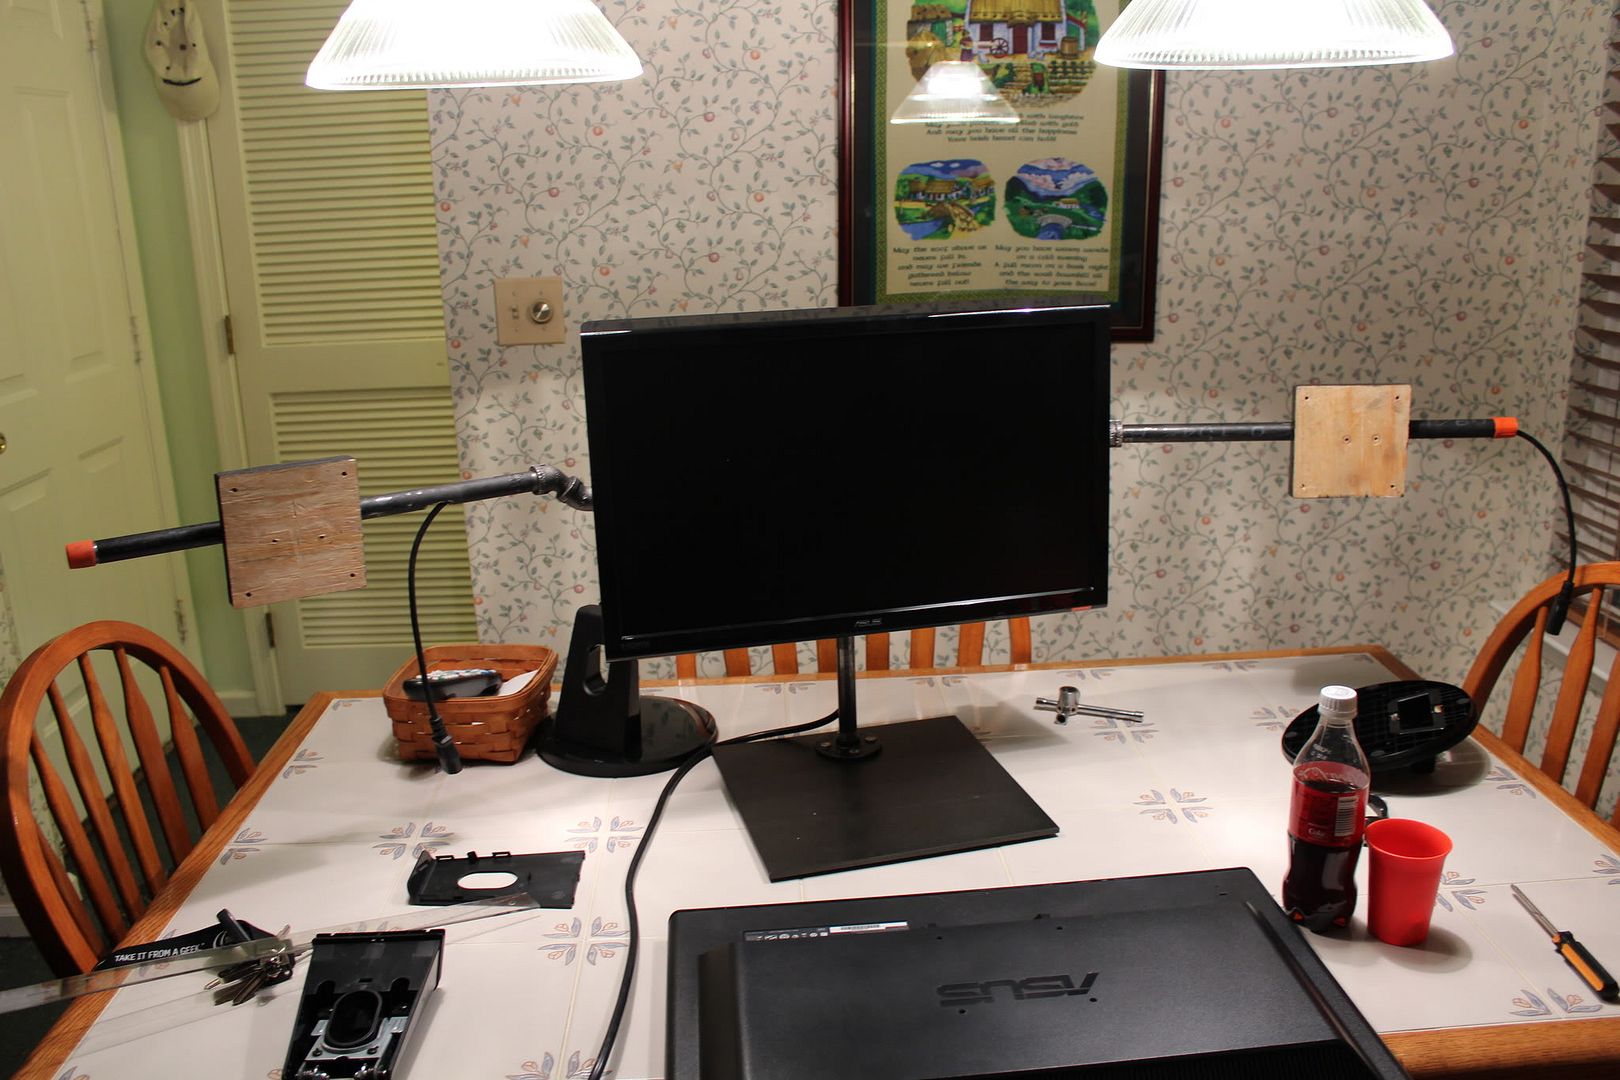
2:

3!
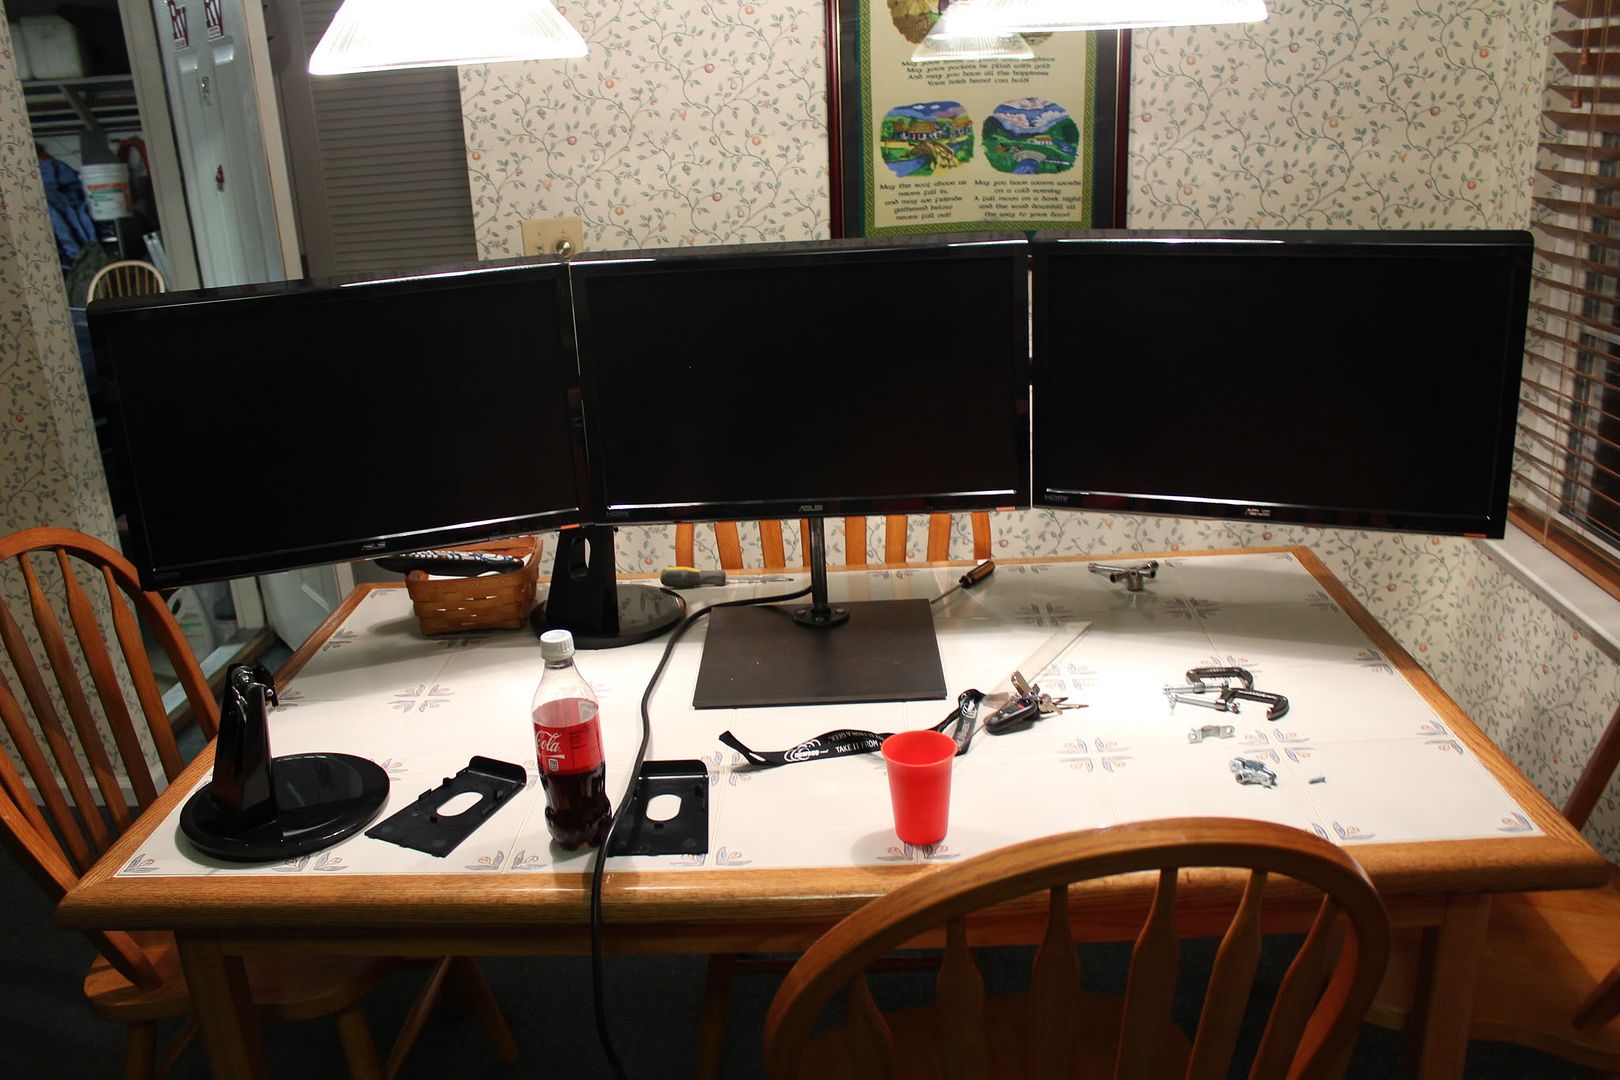
Minor adjustments still have to be made by loosening the pipe hangers and rotating/sliding the monitors. but you can certainly see the full picture!
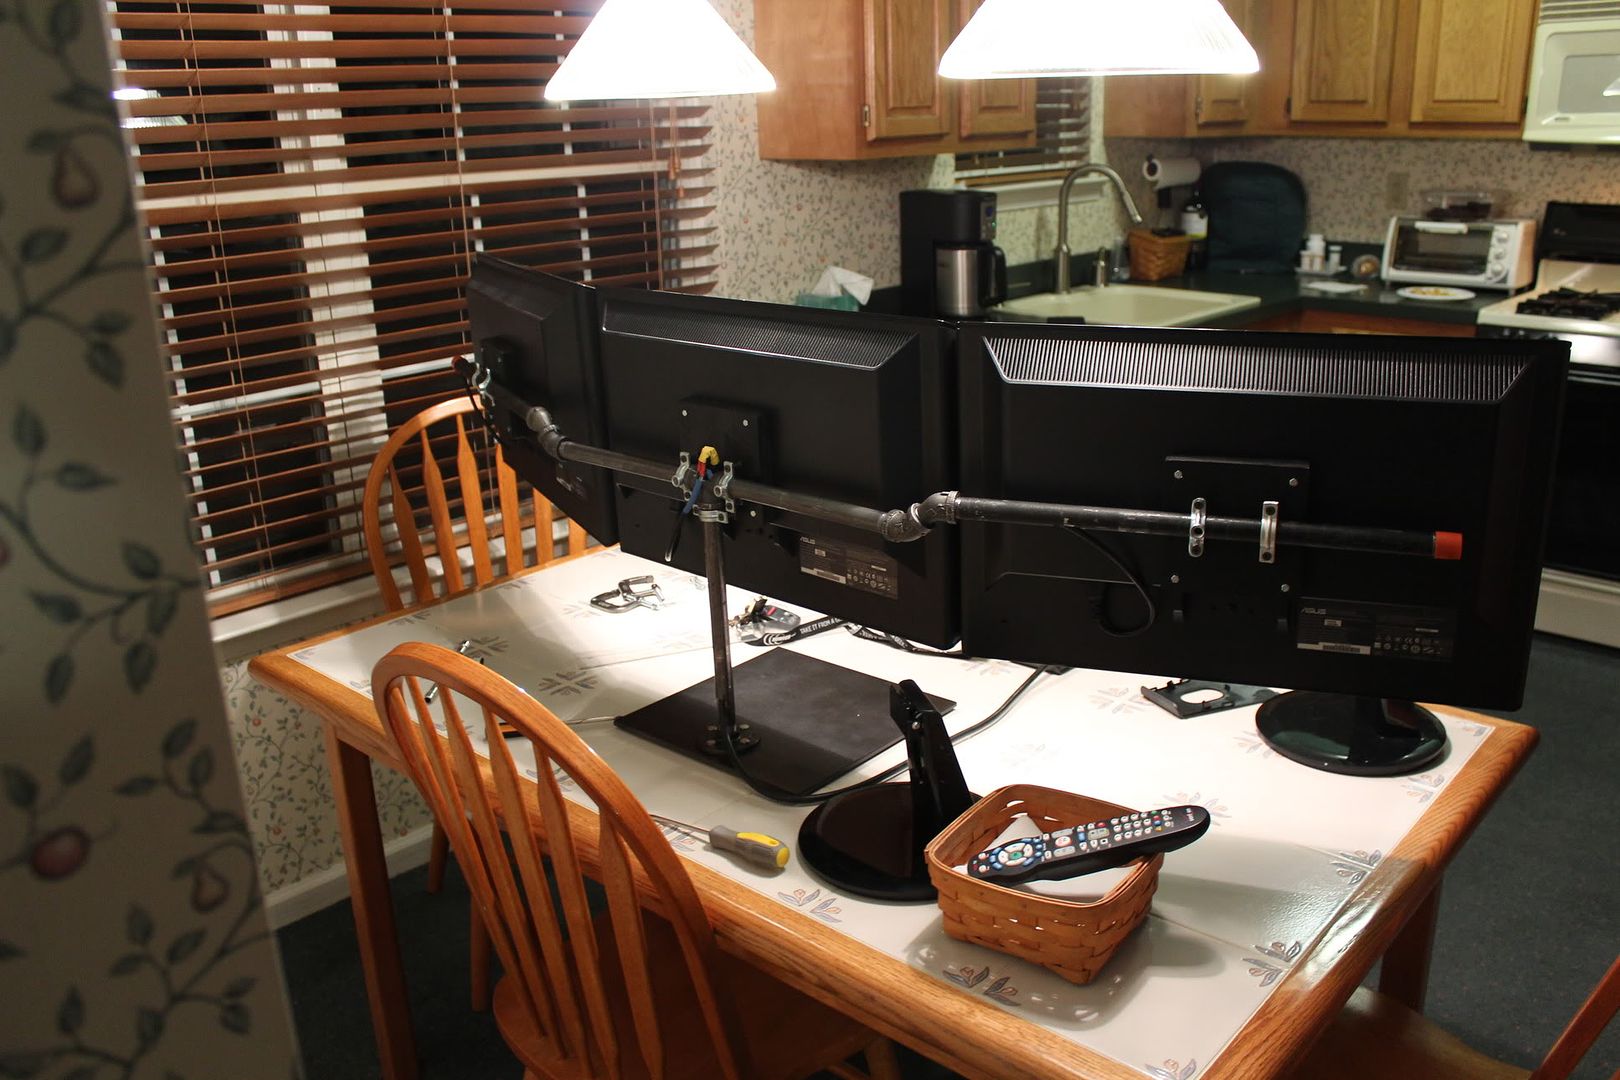
I certainly liked being able to have the exact angles I want on this project, and I also like that since the VESA plates can slide, I can easily bolt the 3 monitors in portrait if I ever feel like changing, and all I would have to do is slide them in!
And last but not least, a test run playing Dirt 3! (Note, I have not actually played Dirt 3 in quite a long time, and I am sitting far too close to the monitors to really see properly, so the actual skill shown sucks.) But the monitors are still cool!
VESA.pdf 211k .pdf file


